But the real power of decorators is that we can stack the functionality one piece at a time. (Okay, so there are several compelling reasons to use the decorator pattern even if we are not stacking functionality; but the stacking is really cool.)
Small pieces of functionality are easier to test. By stacking decorators, we can mix and match the pieces of functionality that we need.This article is one of a series about dependency injection. The articles can be found here: More DI and the code is available on GitHub: https://github.com/jeremybytes/di-decorators.
The Data Reader Decorators
The decorators in the application operate on the "IPersonReader" interface (from the "Common" project, IPersonReader.cs file):

All of the decorators wrap the interface "IPersonReader" and also implement the interface "IPersonReader". This means that the decorators can wrap other decorators.
Let's see how this works step-by-step.
Behavior Without Decorators
For this article, we'll modify the "ComposeObjects" method in the startup of our application. This is in the "PeopleViewer" project, App.xaml.cs file. We'll start with just the behavior without decorators: using the web service data reader.
As a reminder, the code shown here is different from the final code in the GitHub project. If you'd like to follow along, just replace the code in the "ComposeObjects" method with what we have here.

This method puts together 3 objects. Starting from the last line, (1) we create a MainWindow instance; this is the main form of the application. The MainWindow needs a view model, so (2) we create a PeopleReaderViewModel instance to pass to the MainWindow. The view model needs an IPersonReader, so (3) we create a ServiceReader instance (to get data from a web service) and pass that to the view model.
A Nested Composition
As an alternative to this syntax, we can also use a "nested" syntax that gets rid of the intermediate variables. This is in the "AlternateComposeObjects" method in the same file.

This is a little easier to read since we can see what is nested in what. The "ServiceReader" is nested in the "PeopleReaderViewModel" which is nested in the "MainWindow".
I'll show both of these syntaxes along the way. They both have their pros and cons when it comes to readability.
Running the Application
As a reminder, to run the application we need to start the web service. This is in the "People.Service" project. The easiest way to start the service is to navigate a command window to the project folder, and type "dotnet run".

This shows the service listening on "http://localhost:9874", and you can navigate to "http://localhost:9874/api/people" to see the service in action.
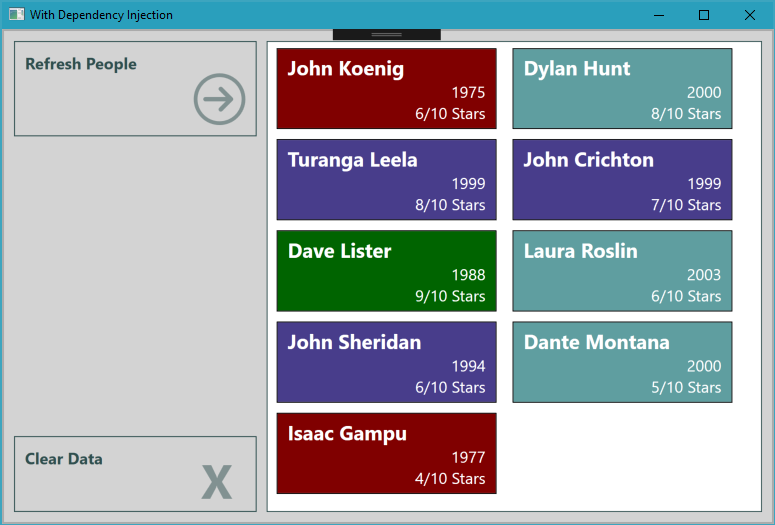
Then we can run the application in Visual Studio. When we click the "Refresh People" button, we get data back.
Now we'll go back to the command window and stop the service with "Ctrl-C".

With the service stopped, click "Clear Data" and "Refresh People". Then we see the following error:

As a reminder, if the code stops in the debugger, just click "Continue" or press "F5" to run past the exception.
Now let's see what happens when we start adding functionality.
Adding a Retry Decorator
The first step is to add the decorator to retry the call if it fails. This described here: More DI: Adding Retry with the Decorator Pattern.
Here is the updated "ComposeObjects" method:

In this code, we wrap the "ServiceReader" in a "RetryReader". The RetryReader also needs a delay, so we pass in a TimeSpan of 3 seconds. When a call fails, the RetryReader will wait 3 seconds and try again, for a total of 3 attempts. After 3 attempts, it will return the exception from the wrapped data reader.
The nested syntax shows the relationships a bit more clearly:

We can see that the RetryReader wraps the ServiceReader.
Now if we run the application and click "Refresh People" (without re-starting the service), we wait 6 seconds before the failure (due to the delay and retry). If we restart the service after clicking the button, then the retry will work, and the application shows the data. See the original article for more details.
Stacking Decorators
To see the how we can stack functionality with decorators, we will add the exception logging decorator to our composition. We do this by wrapping the "RetryReader" in the "ExceptionLoggingReader":

Here's the nested syntax:

I'm a bit torn between these syntaxes, which is why I am showing them together. The nested syntax shows the relationships very easily. Here we can see that the ServiceReader is wrapped in the RetryReader which is wrapped in the ExceptionLoggingReader.
But some of the other parameters are a bit more difficult to follow. If we use the original syntax, it is easier to tell that the "TimeSpan" is the retry delay since we've given that intermediate variable a name. I experimented with mixing the syntaxes, but did not like the results.
Logging Behavior
If we run the application again (without restarting the service), we get the same behavior as above. But now there is a log file in the executable folder: ExceptionLog.txt. For more details on the ExceptionLoggingDecorator, see the original article on that decorator.
Here is the flow:
- The view model calls the ExceptionLoggingReader.
- The ExceptionLoggingReader calls the RetryReader.
- The RetryReader calls the ServiceReader.
- The ServiceReader throws an exception.
- The RetryReader retries the call.
- The ServiceReader throws an exception (again).
- The RetryReader retries the call.
- The ServiceReader throws the exception (again).
- The RetryReader rethrows the exception.
- The ExceptionLoggingReader takes the exception and logs it.
- The ExceptionLoggingReader rethrows the exception.
- The exception bubbles up through the view model and eventually hits the application's global exception handler (that's where the pop-up comes from).

The log only has 1 exception for this process. If we look in the exception log, we see the "RetryReader.<GetPeople>" call. In fact, there are 3 calls in the call stack. This is because our RetryReader uses a recursive call for the retry functionality (see the original article for details).
The result is that when we assemble our objects this way, we get the functionality of *both* the retry decorator *and* the exception logging decorator.
But notice that we only have 1 exception logged. That's probably what we want, but we can change that by stacking things in a different order.
Stacking Order Matters
Something that we need to be aware of is that the order that we stack our decorators is important. Let's flip the order of our decorators. Instead of the ExceptionLoggingReader wrapping the RetryReader, let's have the RetryReader wrap the ExceptionLoggingReader.
Here's the code:

And the nested syntax:

The application behaves differently now.
- The view model calls the RetryReader.
- The RetryReader calls the ExceptionLoggingReader.
- The Exception LoggingReader calls the ServiceReader.
- The ServiceReader throws an exception.
- The ExceptionLoggingReader logs the exception and rethrows it.
- The RetryReader retries the call to the ExceptionLoggingReader.
- The ExceptionLoggingReader calls the ServiceReader.
- The ServiceReader throws an exception (again).
- The ExceptionLoggingReader logs the exception and rethrows it.
- The RetryReader tries the call to the ExceptionLoggingReader.
- The ExceptionLoggingReader calls the ServiceReader.
- The ServiceReader throws an exception (again).
- The ExceptionLoggingReader logs the exception and rethrows it.
- The RetryReader rethrows the exception.
- The exception bubbles up through the view model and eventually hits the application's global exception handler.

Here we can see the first exception logged. Then 3 seconds later (approximately), the second exception is logged. Further down in the file, the third exception is logged.
So we do need to be aware of the order we use when we stack decorators.
Stacking All of the Decorators
We can also stack all of the decorators. The final step will add a client-side cache to the application. For details, see the original article on the caching decorator. This is shown in the final App.xaml.cs file in the GitHub project:

And the nested syntax:

This takes the ServiceReader, wraps it in a RetryReader, wraps that in an ExceptionLoggingReader, and wraps that in a CachingReader. The CachingReader is given to the PeopleReaderViewModel. This gives us all 3 pieces of functionality. (For details on caching, see the original article on the caching decorator.)
Decorators and Transparent Functionality
The view model only cares that it gets an "IPersonReader". The view model itself does not need to know anything about the decorators or if they wrap other decorators. All the view model cares about is that there is a "GetPeople" method that returns data; the details don't matter. That's the magic of using the decorator pattern with dependency injection.
Decorators and Unit Testing
Each decorator has a single function. This makes them easy to unit test. In our tests (retry tests, exception logging tests, and caching tests) we are able to focus on one function at a time. So our tests can be straightforward and clear.
For this project, we can also add integration tests to see how the decorators behave together in different combinations (and that's something I'll be adding in the future).
Wrap Up
Dependency Injection and the Decorator Pattern are a powerful combination. We can mix-and-match pieces of functionality depending on our specific needs. Each piece of functionality is isolated so that tests can be focused. And we can get these benefits without modifying our existing classes. We just snap the pieces together in a different order.
Coming up, we'll look at some other aspects of this project, including how .NET Standard projects interact with .NET Framework projects. We'll also look at using dependency injection containers to compose our objects and manage the lifetime. And we'll look at a more general-purpose interface that allows us to use the decorators with a variety of underlying objects.
Happy Coding!
No comments:
Post a Comment